

Part One in a series . . .
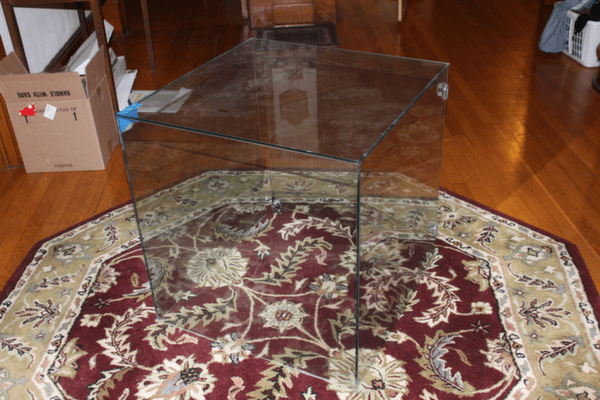
Some kids might ask for video games for Christmas, some a bike, but I’m not like those kids. For Christmas I asked for some kind of display case that I could turn in the my crested gecko’s habitat, and that is exactly what I got: an old display case from a local museum.
The Case
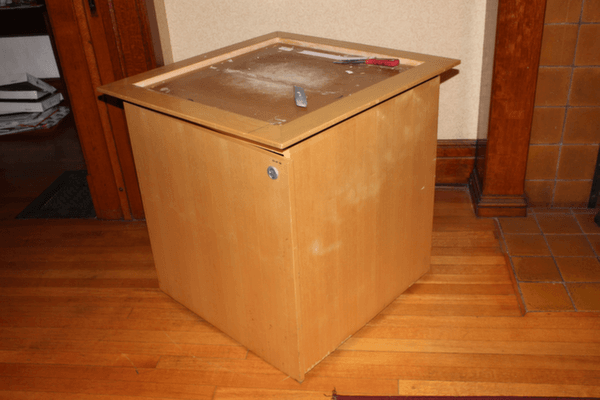
As stated above it is an old museum display. The case had been donated to my local Habitat for Humanity were my dad picked it up for one of my Christmas presents. The tank of the display case measures 2 feet on all sides and sits on a base measuring 24½ inches with a lip that comes out 4 inches on each side. The case is 2 feet and 6 inches tall.
My Plan
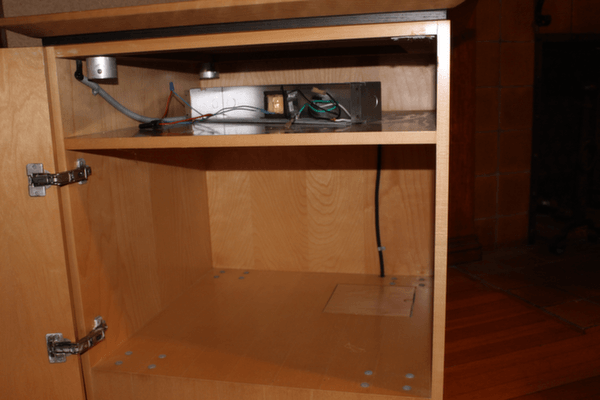
As for the base, I have very few plans except to add a centralized drain at the front left of the cage with a pipe leading it back to the reservoir. Other than that, the base will mainly act as storage for my supplies.
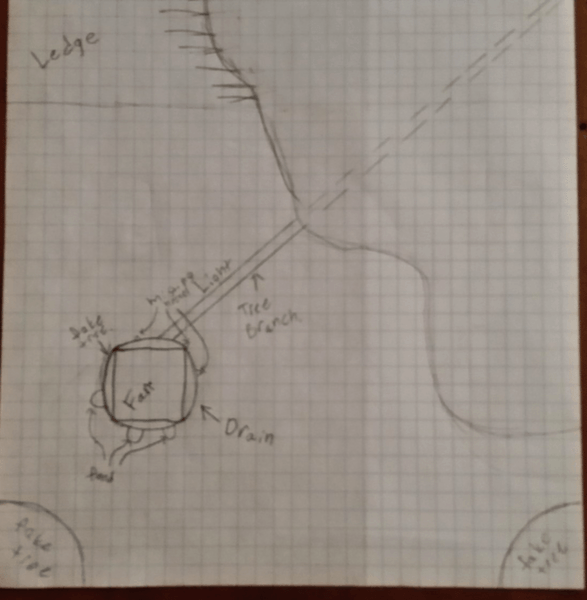
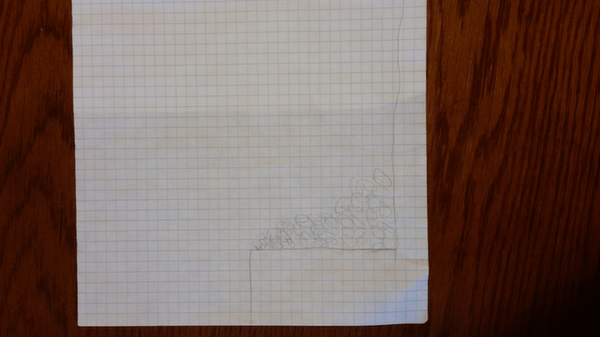
Now for the cage the plan is quite, well let’s say, crowded. Ultimately the tank is going to be called The Cave because of the large cave that will be constructed in the back right. From the top you will see on the left side of the cage a lower ledge with a near straight down drop with various plants growing on it. In the front left and right corners there will be fake trees made from PVC pipe cut into quarters and then shaped with foam to cover large gaps in the cage door. In the middle left there will be a large PVC tree used for ventilation, drainage, feeding, and misting. Along with the tree is a fake branch made from an original light fixture that I plan to gut and replace with waterproof LED lights.’
The sides are much simpler than the top. The right side will just have the cave wall made from spray foam from the ground to about 4 inches up from the top. The back will be half covered with foam on the low ledge, and about about 18″ of the cave back with be covered with foam. The left side will have a straight drop with various plants growing on it, as said above, and again the cave will come to about 4 inches from the top. All of this may be kind of hard to see in your head, even with the pictures, but by the next article I plan to have a majority of the spray foam done if not all of it and really begin shaping the actual cage.
Problems
Even this early in the build, having only the top of the enclosure made and having several pieces, I have run into problems, the biggest being the spray foam. Luckily I found an answer pretty quickly to my issue that the ugly yellow would be visible from the outside of the cage. Posting the question simply on some forums got me the answer within a day: put a base layer of black silicone over the areas where spray foam will be applied, then trim any excess silicone off.
In addition to that are even simpler problems that have been solved which shouldn’t have been a problem in the beginning such as, trying to find a 5 inch diameter pipe for the large tree, and even figuring out just how the spray foam will be done inside the tank. Although I have run into some problems I know that I’m not even close to hitting them all.
Although this is a short article, and may not get the picture across… even with the illustrations, I still thank you for taking the time to read my article and hope that you will follow my build in the articles to come.
2 Comments
Leave a Reply2 Pings & Trackbacks
Pingback:Gecko Time: Creating a Unique Vivarium Part 1
Pingback:Gecko Time: Creating a Unique Vivarium Part 1