[ad#300]
Today I am going to post the instructions for creating an enclosure that I made a couple of weeks ago. The basic structure of this cage cost me around $15. With cage furnishings and such, the project’s total cost was about $25. Aside from being inexpensive, the final product is very durable, versatile, and easy to clean.
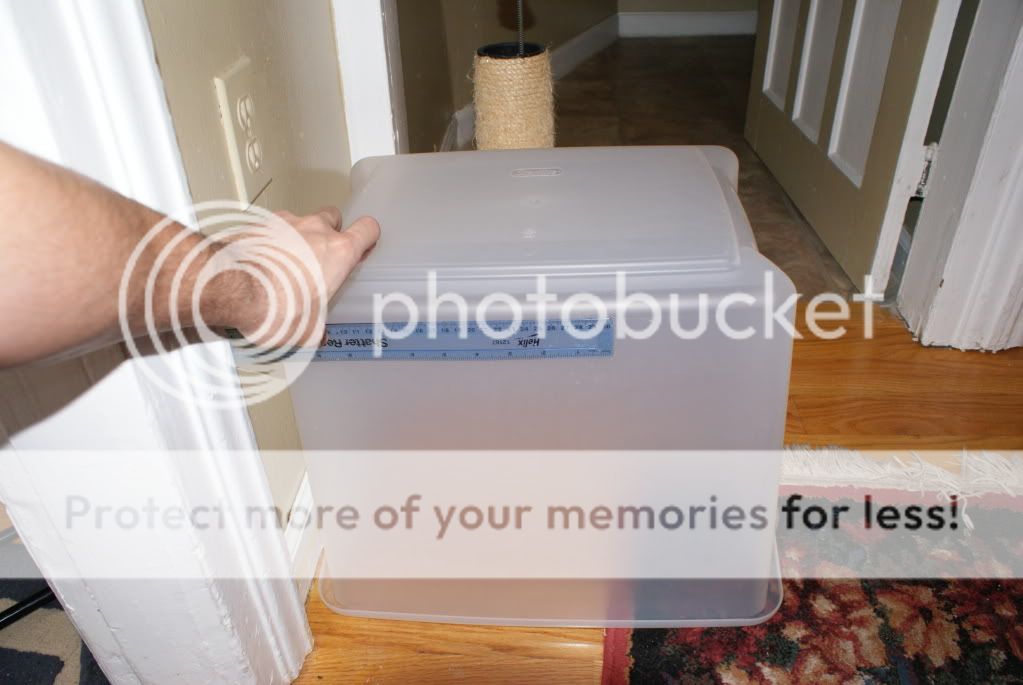
For this project, my enclosure of choice was a Sterilite 50qt Ultra shelf tote with latching lid. As long as you are housing a gecko and not a snake, the lid latches tight enough that there should be no concerns about security. The only product number I managed to locate was 19378606 which seems to be for a clear container with a gray lid. The one I chose was purchased at Wal-Mart for $7 and has a clear lid. I found a great deal on amazon for a six pack here.
This nice thing about this is that any plastic container you can find with a secure lid can be turned into a home for your animal. You can even turn a long container on its side to create a very tall arboreal enclosure. You are limited only by your imagination!
Supplies Needed
Supplies required for the basic project are:
- Your plastic container of choice
- Standard window/patio screen–enough to cover the holes you make
- One 1/4″ OD quick connect hose connector (optional)
Recommended tools:
- Dremel hand tool with cutting bit and cutting disk OR any drill and a small hand saw
- Any hot glue gun
Step One: Trace to cut
The first step is marking the container for cutting. Remember the old adage–measure twice, cut once. In this case, I chose to cut a square opening in the front of the container as well as in the top. Since the container is not a perfect rectangular solid, I did the best I could to make a perfect square in the front. The best tip I can offer for doing this is to place your container on the floor upside down with the side adjecent to the one you plan to cut up against the wall. Then you can place your ruler or yard stick perpendicular to the wall and up against the cage side that you wish you cut.
Another way to do this would be to use a level to draw the horizontal lines and a carpenter’s square or another object with a hard 90 degree angle to draw the connecting vertical lines.
Step Two: Begin Cutting
Once you have the desired square drawn, begin cutting with your Dremel cutting disk or hand saw. If you are using a Dremel, I would recommend using the lowest possible speed to reduce the heat created. After you are done cutting, there will be some leftover shavings that have melted back to the original surface. These should peel off with no trouble. After peeling them off, sand the remaining surface to get a smooth, clean final product. Your finished product should look like this:
Step Three: Preparing the screen
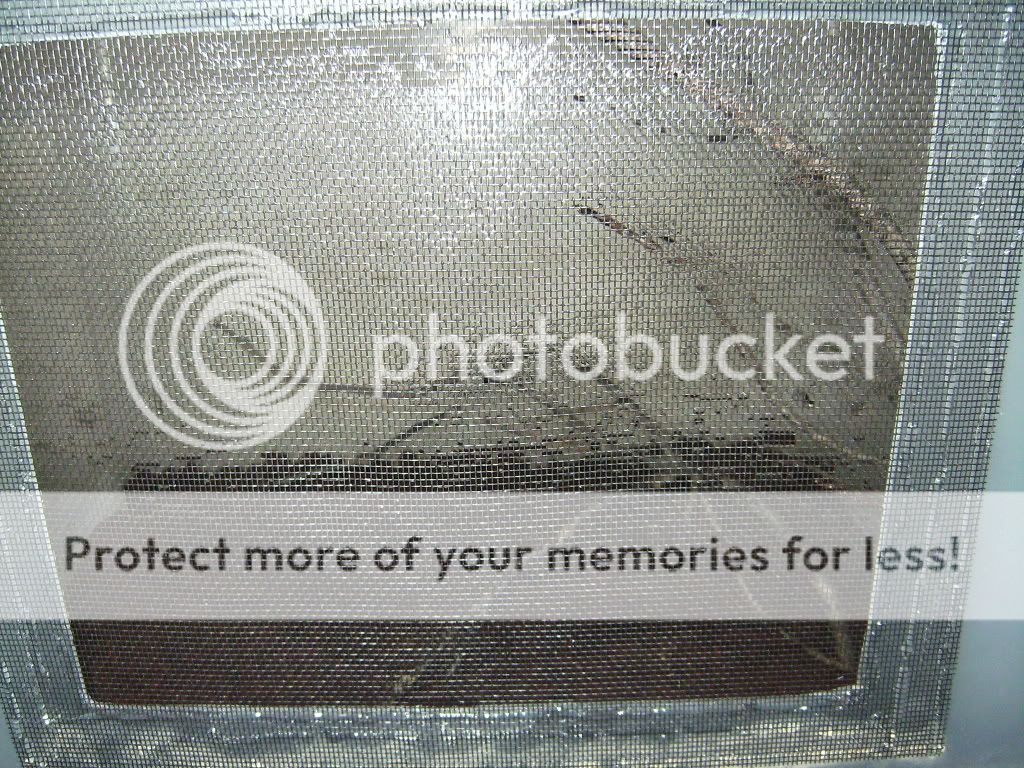
The third step is fixing the screen. Cut a section of screen so that it extends about one inch over the hole on all sides. I would recommend gluing one of the longer sides first. A single bead of hot glue over the length of the screen should do. I chose to glue the screen on the outside, but in some cases, fixing it to the inside might be more appropriate. After you have the first side glued, glue each adjacent side while stretching the screen down with your other hand. It was impossible for me to glue and take pictures at the same time, so you’re on your own throughout the gluing. I promise it doesn’t get much easier. After you have one bead of glue on each side, run a second bead around the entire thing and then a third. At this point, you should have this (this is several steps later, but you get the idea what the screen should look like):
Step Four: Install Drain
Now that we have the screen affixed, it’s time to install a drain in the bottom. I have marked this optional because some of you may want to keep this on something other than the wire baker’s racks that I use. If that is the case, a drain in the bottom might not work so well. Also, if you don’t plan on having frequent misting or very high humidity, a drain may be entirely unnecessary. If, however, you do have a need for a drain, these are the simple steps to follow. For my drain I chose a 1/4″ outer diameter hose quick disconnect elbow, pictured here:
The first part of this step is to create a hole for the drain to go in. Since I used a Dremel, I can’t provide a drill bit size to use. Basically, just make a small hole and continue increasing its size by a LITTLE bit at a time. Make the hole just big enough to fit the drain while still small enough for the threads to catch. Remember, you can’t make the hole smaller, but you can always make it bigger. Your hole should look like this:
Screw the elbow into the hole so that it sits flush with the plastic on the inside. On the outside, it should look like this:

Then, run a bead of hot glue around the outside of the drain to seal it up:
*Note: a very similar process can be used to install misting heads where desired.
Step Five: Cutting the lid
Now we’ll work on the lid. Step five is cutting the lid. The inside of your lid should look something like this:

As you can see, the lid has a large inner ridge. It is best to preserve this ridge in order to allow the lid to remain strong. For that reason, you should make your cut just inside this ridge. A Dremel with a cutting bit makes this VERY easy, but it can also be done with a hand saw. Once again, this cut will generate some plastic shavings. As in step two, peel those off and sand the freshly cut edge to give you something like this:
Step six: Attach the screen
Attach the screen to this portion in a similar fashion to step three. The cut we made in step five left a nice ridge for us to attach the screen to. In this case, one bead of glue will suffice. Affix it tightly to the top and cut away the excess leaving something like this:

With the overall product looking like this (don’t mind the cat’s butt in the picture, he loves to show the world his good side 🙂 ):

Now that we have our housing, the last step is simply furnishing the cage. If you have opted for step four and installed a drain, I would recommend filling the bottom with a layer of gravel. This allows the moisture from your substrate to drain through something so that it can collect and exit via the drain. This should give you an idea (more gravel than this is necessary, but you get the point):

After you have your layer of gravel, cover that with a layer of coco fiber and begin inserting some branches. In this case, I used branches collected from outside. It is best to treat these with bleach and then bake them in the oven at 250 degrees F for 20-30 minutes.

I later added a Mistking mist head as pictured here:

And here you can see my male U. Phantasticus sleeping happily in this enclosure:

As stated before, you are limited only by your creativity. I used a very similar procedure to create two enclosures for my juvenile R. Leachianus pair. Now that you see the basic procedure, go out and make your own set of great enclosures!


that would be an awesome cage for pray mantises \